21 Jul Enabling Teams QoE reports in AudioCodes OVOC
AudioCodes has introduced a new feature into the One Voice Operations Centre that allows OVOC to pull Microsoft Teams Call Detail Records (CDR) and Call Quality Dashboard Online (CQDO) telemetry data into OVOC effectively providing a single pane of glass for troubleshooting all your Microsoft Teams VoIP and PSTN calls. If you’re familiar with troubleshooting Microsoft Teams calls via the Microsoft Teams Admin Centre using the Meeting and Calling tab you’ll know this isn’t a very user friendly experience.

In the the Skype for Business/Lync/OCS days we used the Snooper tool along with the UCCAPI logger to run traces and then analyse those traces with Snooper to get rich detailed information which helped to triage and troubleshoot voice related issues. Unfortunately as Teams is not a SIP based platform and uses HTTPS/REST signalling for call set up and tear down troubleshooting Teams Calls client side is essentially impossible. As the client portion of the call leg up to the media relay or the media processor is also important for PSTN calls as well as pure VoIP calls its important that administrators have the data, insights and metrics that allow them to see all legs of a call, trunk and line side of the SBC as well as the client leg up to the Teams. Fortunately via OVOC we now have a friendly user interface that can provide this data in an easy to understand format unlike the Microsoft Teams Admin Centre (MTAC) which is very verbose and not particularly easy to decipher.
In addition unlike the legacy monitoring reports in Lync/SfBS which included Key Health Indicators (KHI) there are no simple Red Amber Green (RAG) traffic light status’s indicating what’s a good or bad quality call other than the default Good or Bad Audio Quality in the MTAC. But this doesn’t tell us specifically what was causing a call to be of bad audio quality, and without a KHI there could be a bit of guess work involved.
At its core all OVOC is doing is scraping the Microsoft Graph for call detail records and QoE metrics which it sucks into its own database for analysis. It does this by building a connection to the Subscription Notifications Service when using an Azure App registration from OVOC. Permissions for data access are granted to the app registration for your Microsoft365/AzureAD Tenant. Call data (subscriptions notifications) can then be retrieved for users managed by this tenant including Teams peer-to-peer or Conference calls and network calls. Call quality data from Teams devices is retrieved based on Audio, Video, Video Based Screen Sharing (VBSS), Screen Sharing and data.
To enable OVOC to ingest Teams QoE data the following is required:
- OVOC must be running on the latest build 8.0.114
- An ‘Analytics’ license is required to enable Teams QoE reports
- OVOC must be configured with an FQDN. EG ovoc.domain.com with a static Public IP and A record published with your domain registrar
- A certificate from a Public CA must be configured and enabled in OVOC. (If a public trusted certificate is not enabled in OVOC this will result in subscription failures to the Graph API)
Step 1 – Create the Azure App registration
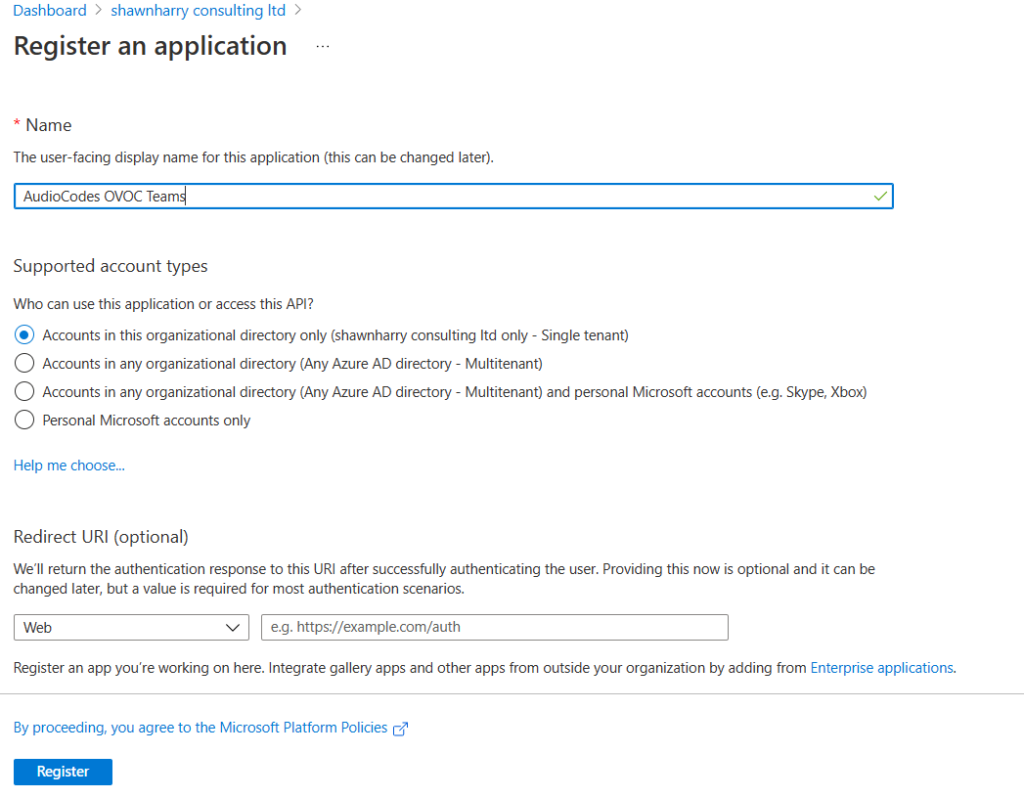
From the Azure Portal browse to Azure Active Directory > App Registrations > New Registration. Provide a name for the new registration and select register.
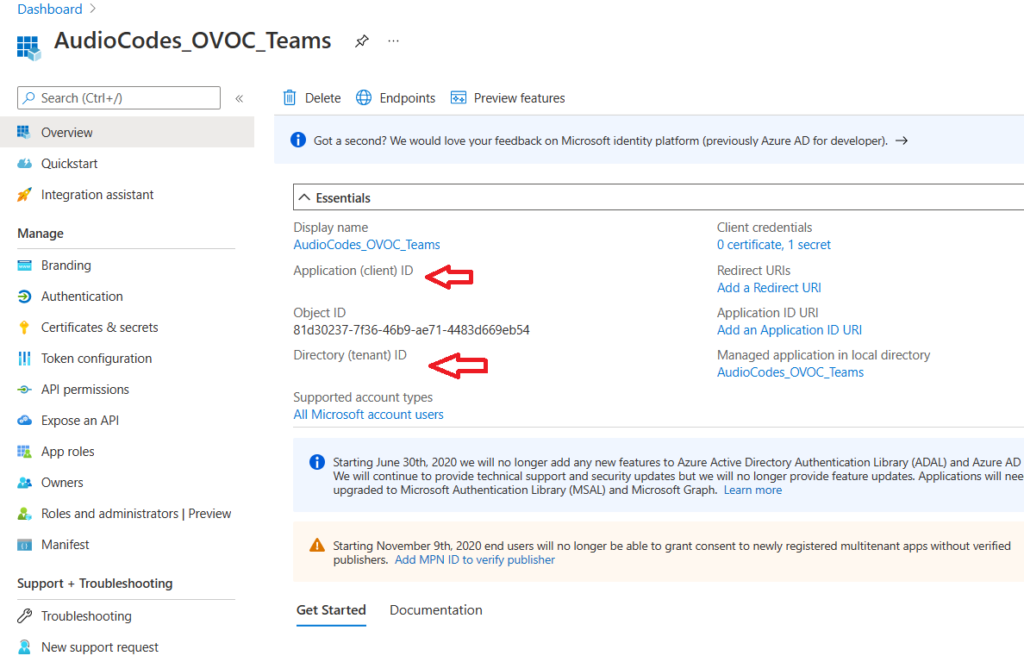
Make a note of the Application (Client) ID and your Directory (Tenant) ID.
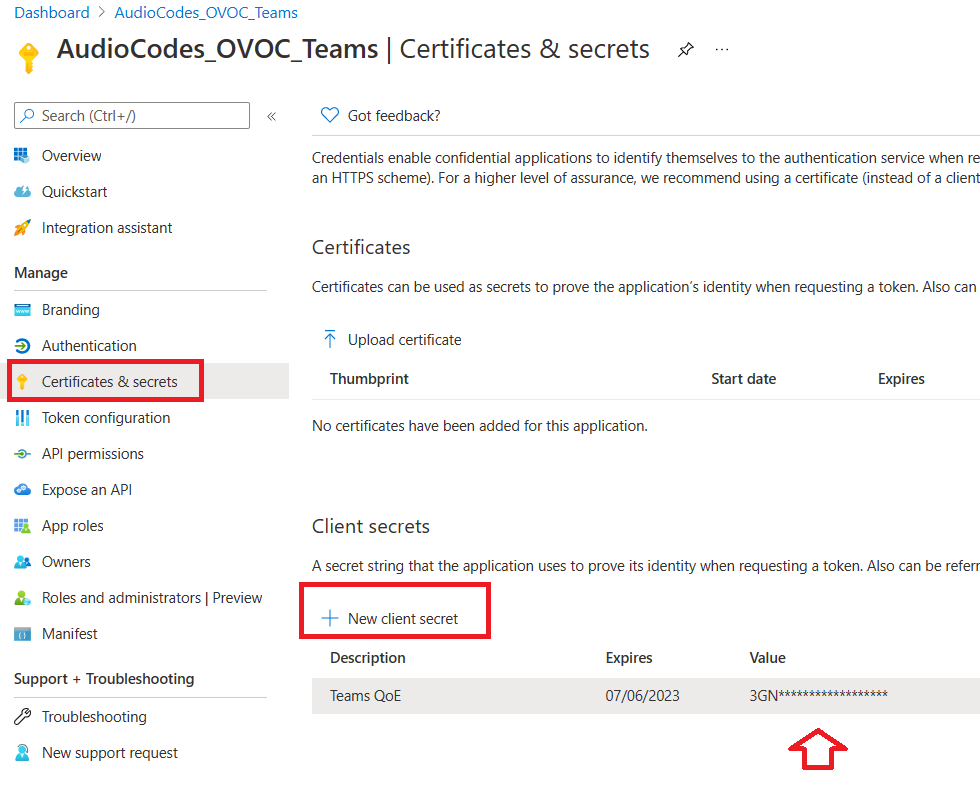
From Certificates & Secrets tab create a new client secret. Ensure you copy and save the secret as once the the secret is added the secret is then hashed and no longer viewable.
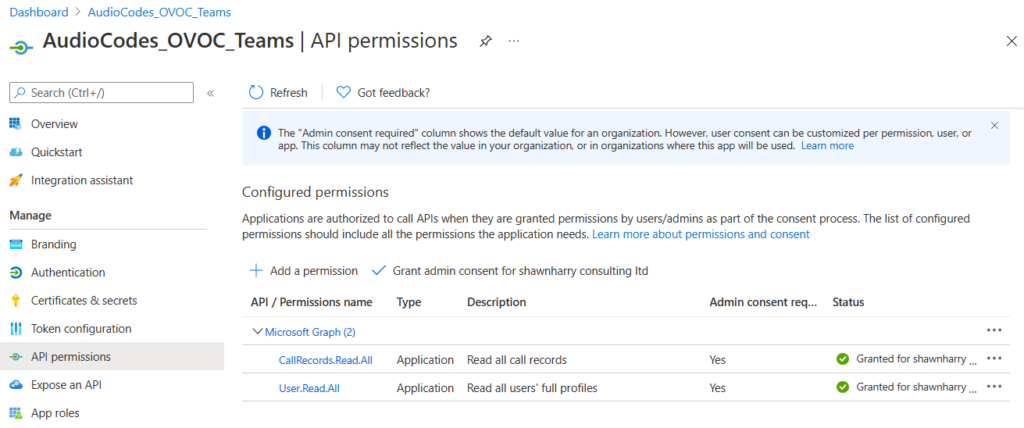
From the API permissions tab you’ll need to ensure CallRecords.Read.All and User.Read.All permissions have been added. Click Add a Permission > Microsoft Graph > Application Permissions and enter both permissions above and select add permissions. Ensure admin consent has been granted for both permissions.
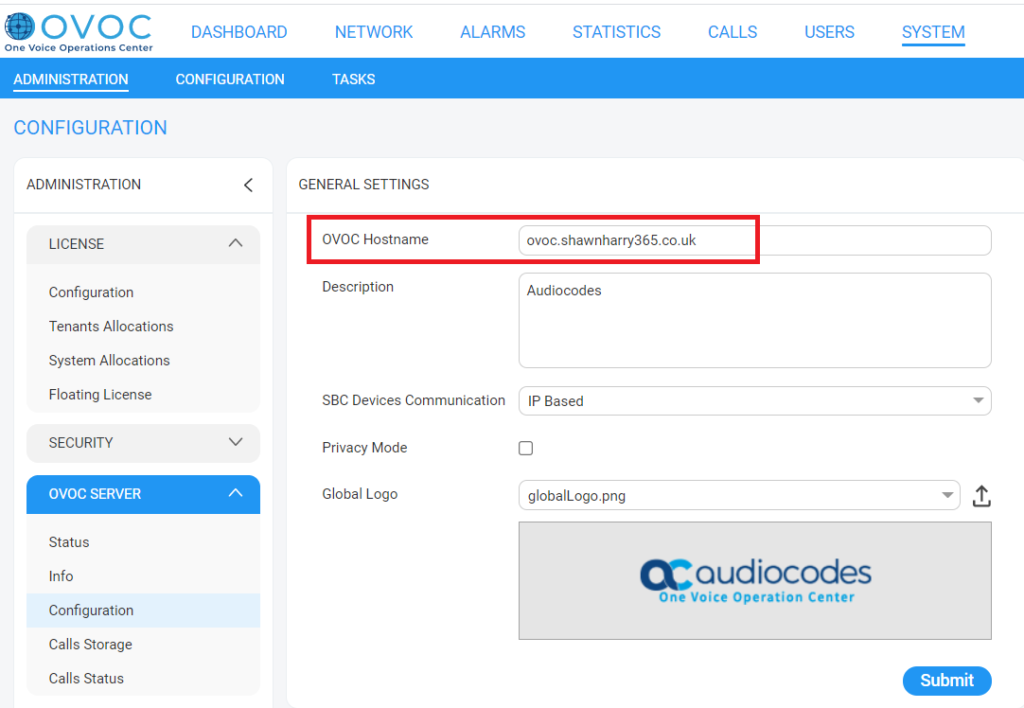
This completes the App Registration. Before you proceed to the next step ensure your OVOC is using a public certificate, as well as an FQDN and static IP configured.
Page 236 of the OVOC Manual will show you how to import a certificate via the CLI (SSH). Unfortunately there’s no easy way to do this in the web UI so you’ll have to dip into the shell to create the CSR and then use WinSCP (Or SCP if you’re a CLI junky) to copy the CSR to your CA as well as copying the newly issued certificates to the OVOC. Once the certificate chain has been imported and bound to the OVOC web service when you browse to the FQDN of your OVOC you wont see any certificate errors.

The Microsoft Graph API will only accept SSL handshakes from connections that present a trusted certificate. So ensure you dont miss this step otherwise you’ll be staring at an empty Calls tab and your Teams QoE endpoint will remain in an error state until this is resolved. So be warned!
Step 2 – Configure OVOC Teams QoE Endpoint
From OVOC select the MS Teams and S4B radio button.

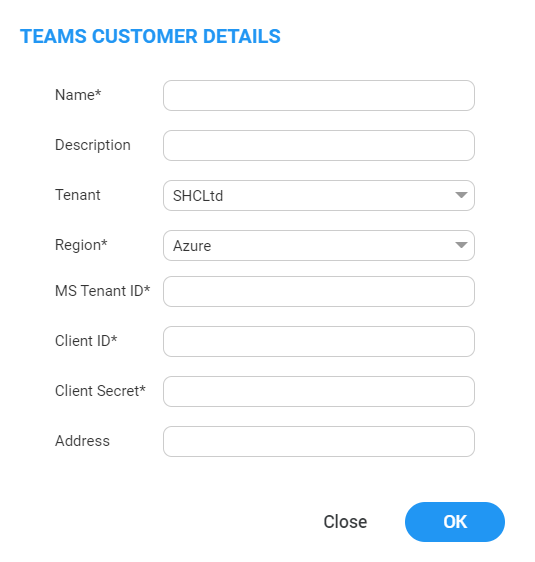
Click Add > Teams Customer. Using the details in step 1 enter a name for the Teams QoE Endpoint. The appropriate Tenant and Region. And the Tenant ID, Client ID and Client Secret.
The status of the endpoint should now show as green. Which means OVOC is able to successfully connect to Graph and your tenant call detail records.
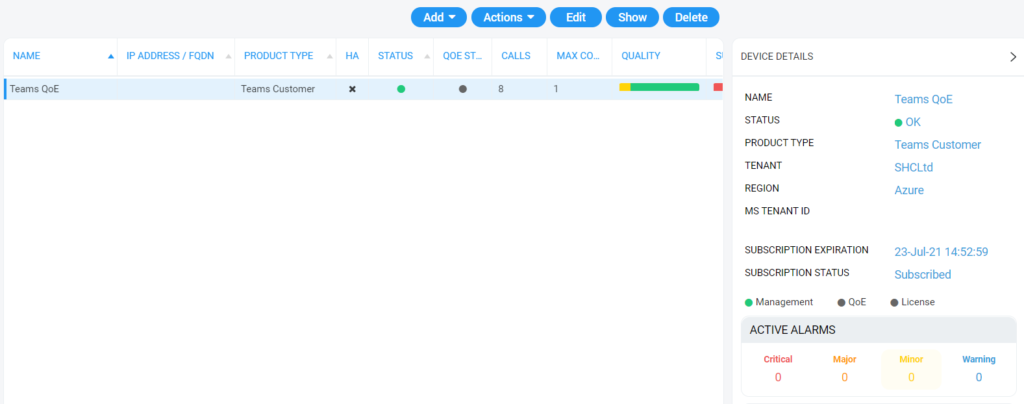
OVOC doesn’t seem to ingest historical data from Graph so generate a few calls and you should start to see the Calls pane populated with calls.

I have QoE reporting enabled already (See here) so as you can see from the highlighted call the PSTN call including the line and trunk side call legs of the SBC as well as the Teams Client call leg are both shown. So now we have an end to end view of an entire Teams call!
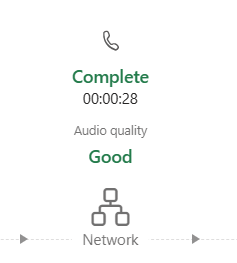
The show button allows us to drill down into the call and see the quality, media, network or devices used in the call with a useful breakdown and RAG status of the KHIs during the call.
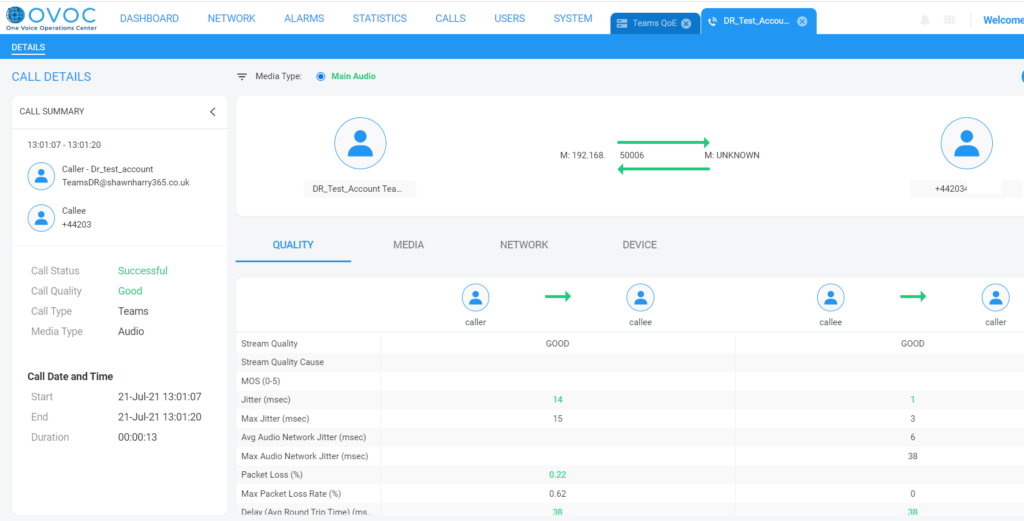
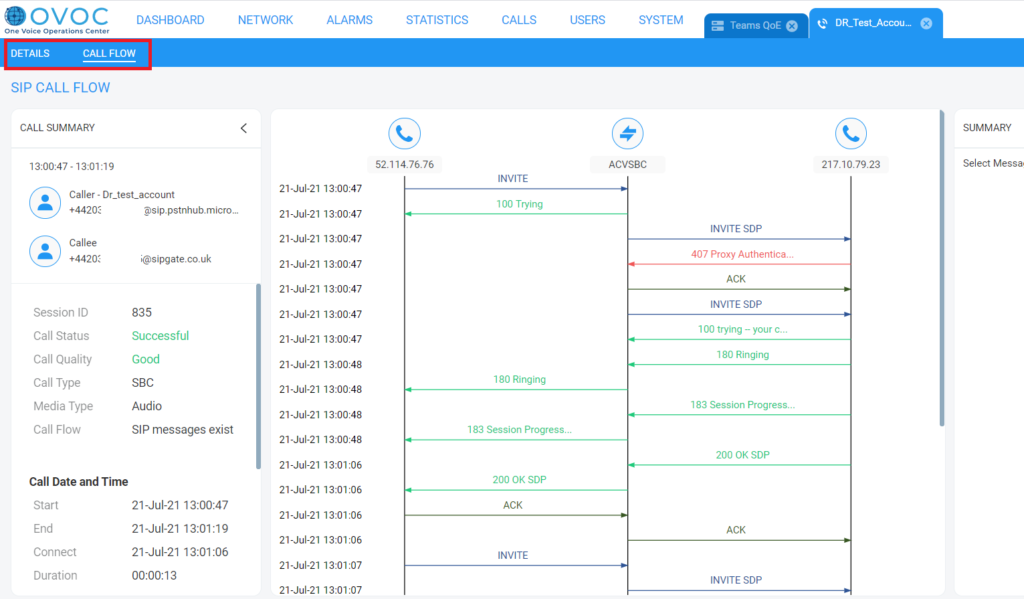
Unfortunately as OVOC doesn’t concatenate the two calls so that the entire call flow is shown together, when selecting the PSTN leg of the call you’ll see the usual view which includes the details and call flow.
