
23 Mar Installing Oracle SBC in Azure for Microsoft Teams
Oracle is one of four vendors currently supported for Microsoft Teams Direct Routing. Unfortunately Oracle doesn’t provide an ARM template nor an appliance in the Azure Marketplace for their Virtual Machine Edition of their E-SBC. So this post will cover the installation steps for installing an Oracle VME E-SBC into Azure.
I’m going to assume readers of this post are A) familiar with Azure and have access to an Azure subscription and B) Have access to a Oracle VME VHD that can be used to upload to Azure.
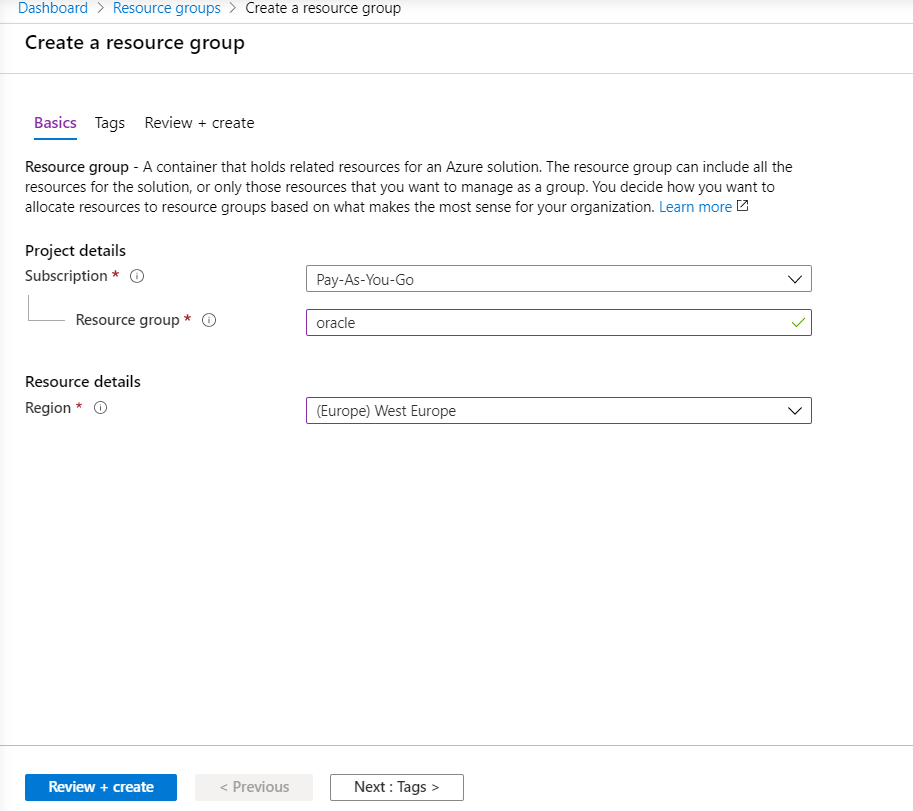
Create a new Resource Group. This will be used for all IaaS configuration items related to the SBC.
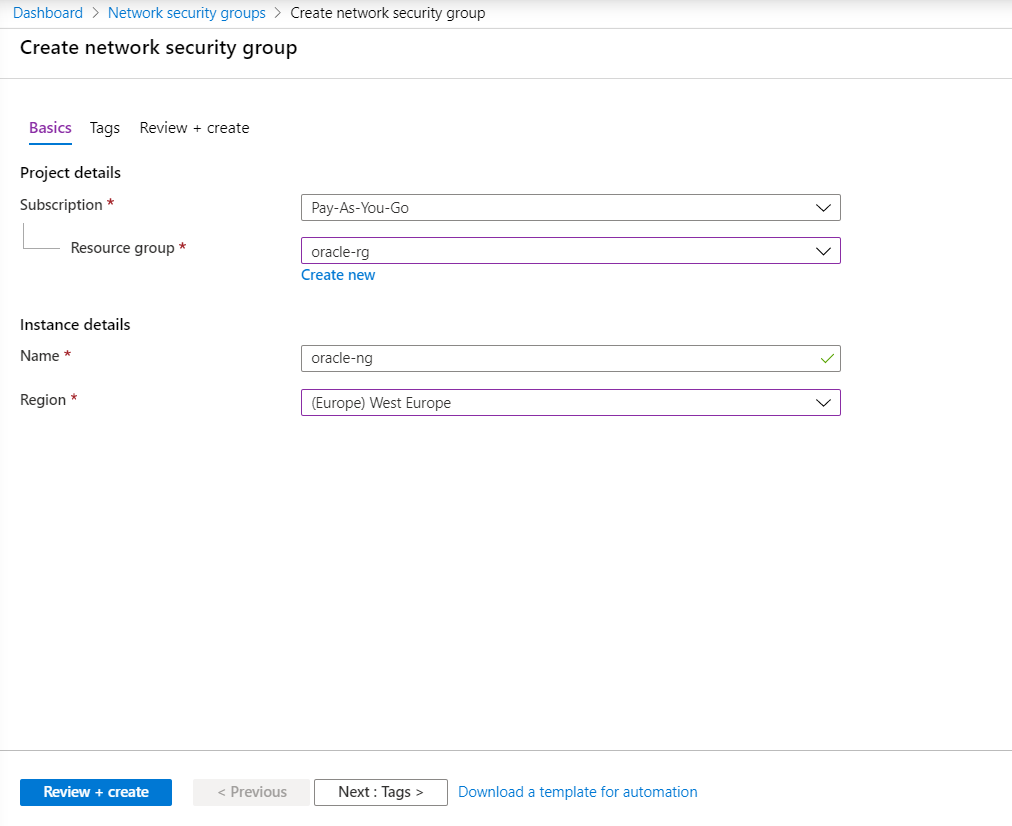
Next create a new Network Security Group. Ensure the previously create RG is used to home the new network security group.
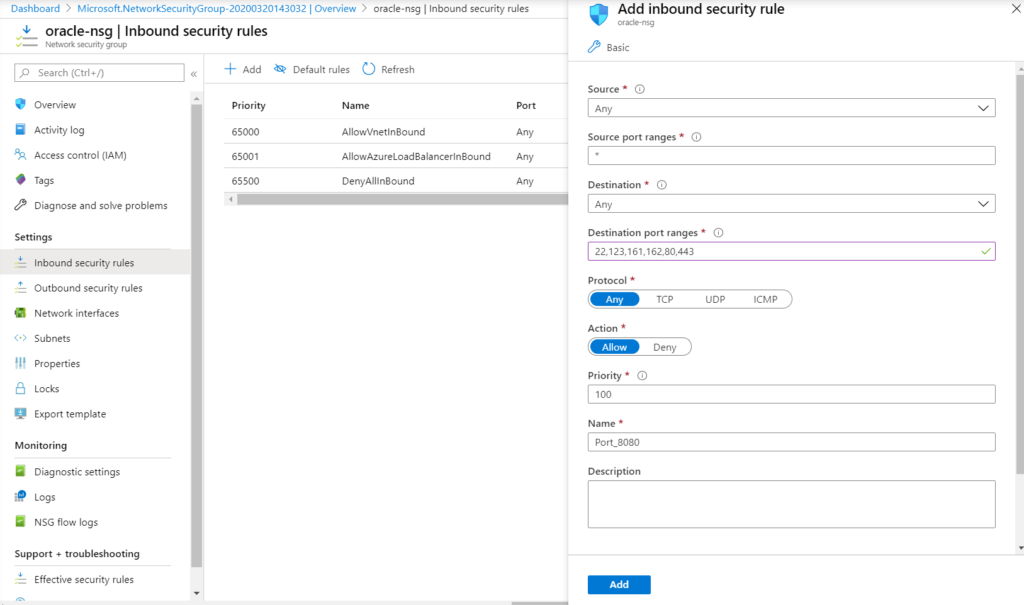
Select Inbound Security Rules in the new NSG and open the following ports as per the screenshot below. These are the basic ports required for managing the SBC. Additional ports can be added for signalling and media if you also want to include SIP trunk configuration as part of your config.
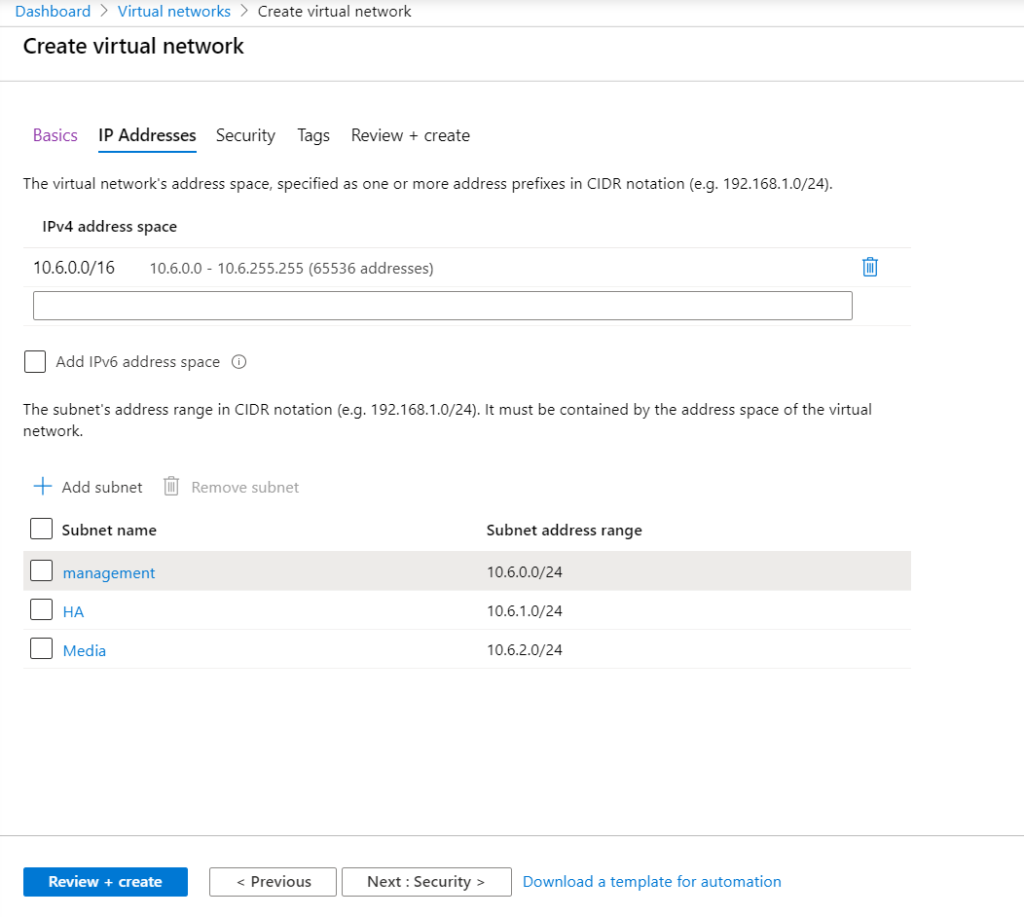
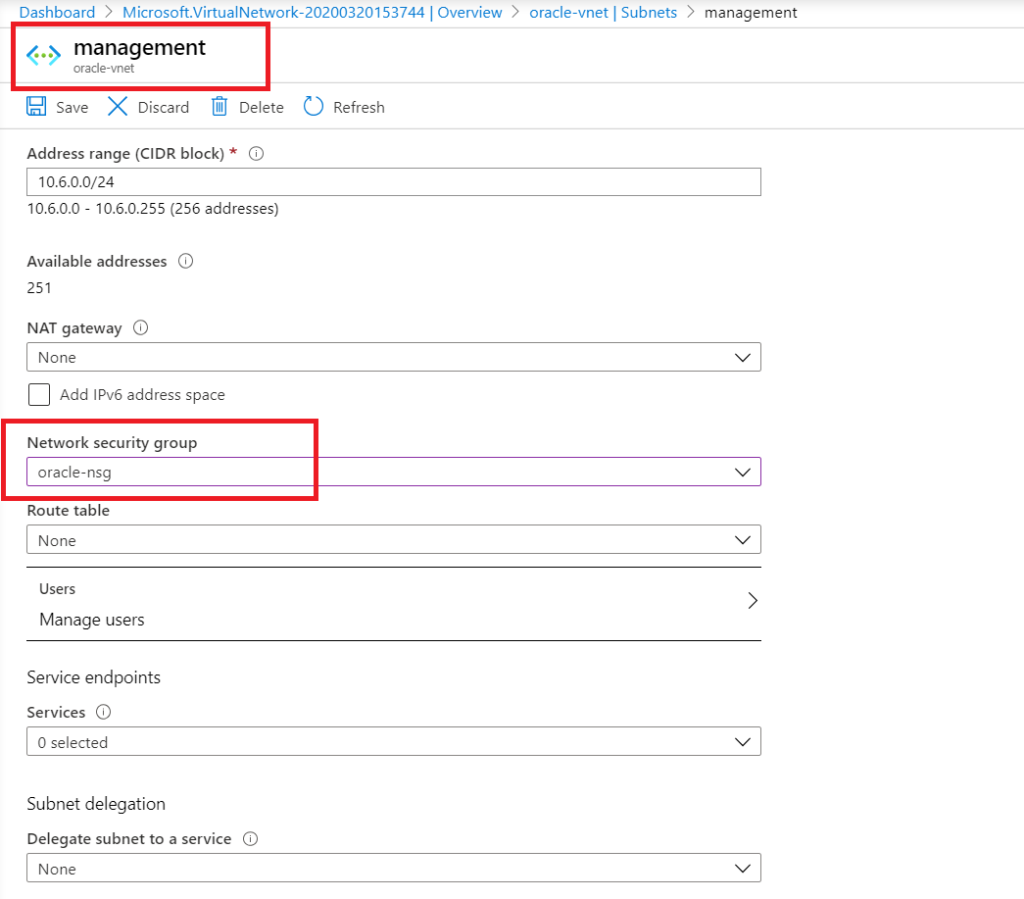
Create a new Virtual Network and ensure there are 3 subsets in the VNET for management, high availability and media. This will ensure traffic remains separate on each network interface or vNIC.
Select the management subnet in the newly created VNET and ensure the previously created NSG is applied to this subnet.
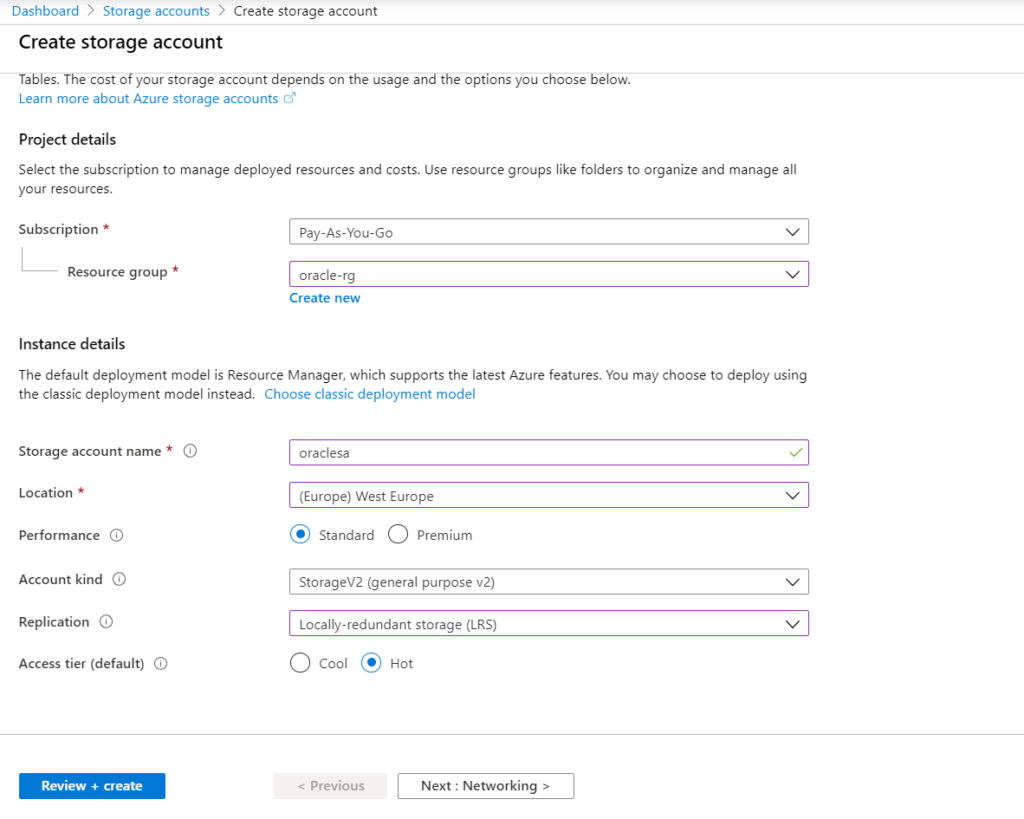
A new Storage Account must be created to upload the E-SBC VHD to.
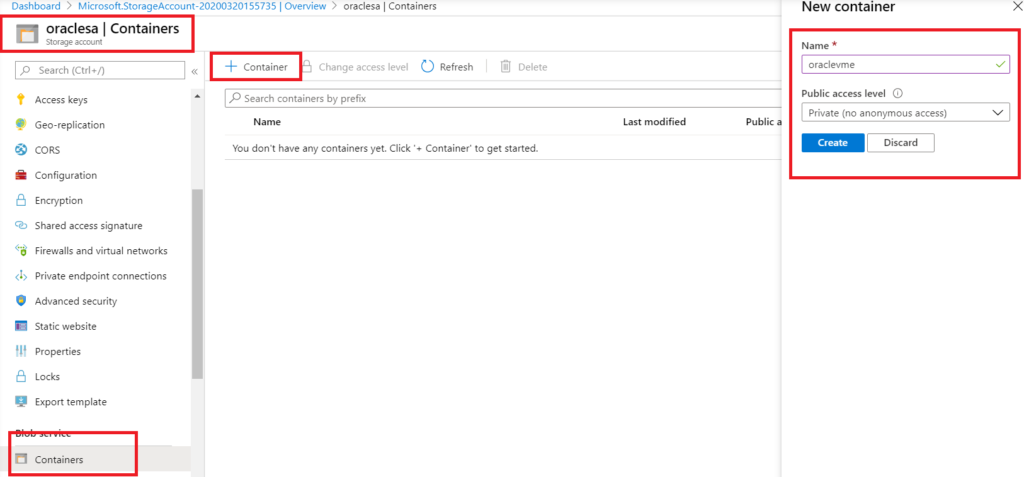
Create a new Container in the storage account.
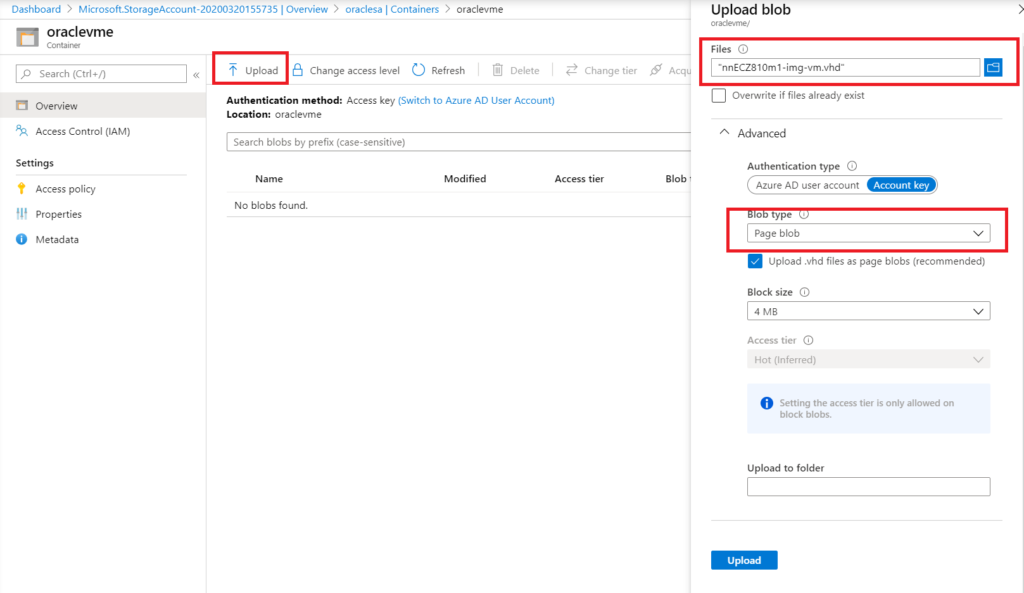
Upload the VHD to the new container. This might take a while depending on the size of the VHD and your internet bandwidth.
Note:- Ensure the VHD you want to upload is a fixed sized VHD. Dynamic sized VHDs cannot be used for creating new images. Also it may help to use the Azure Storage Explorer to upload the VHD which is capable of must faster upload speeds than via the Azure Portal or app.
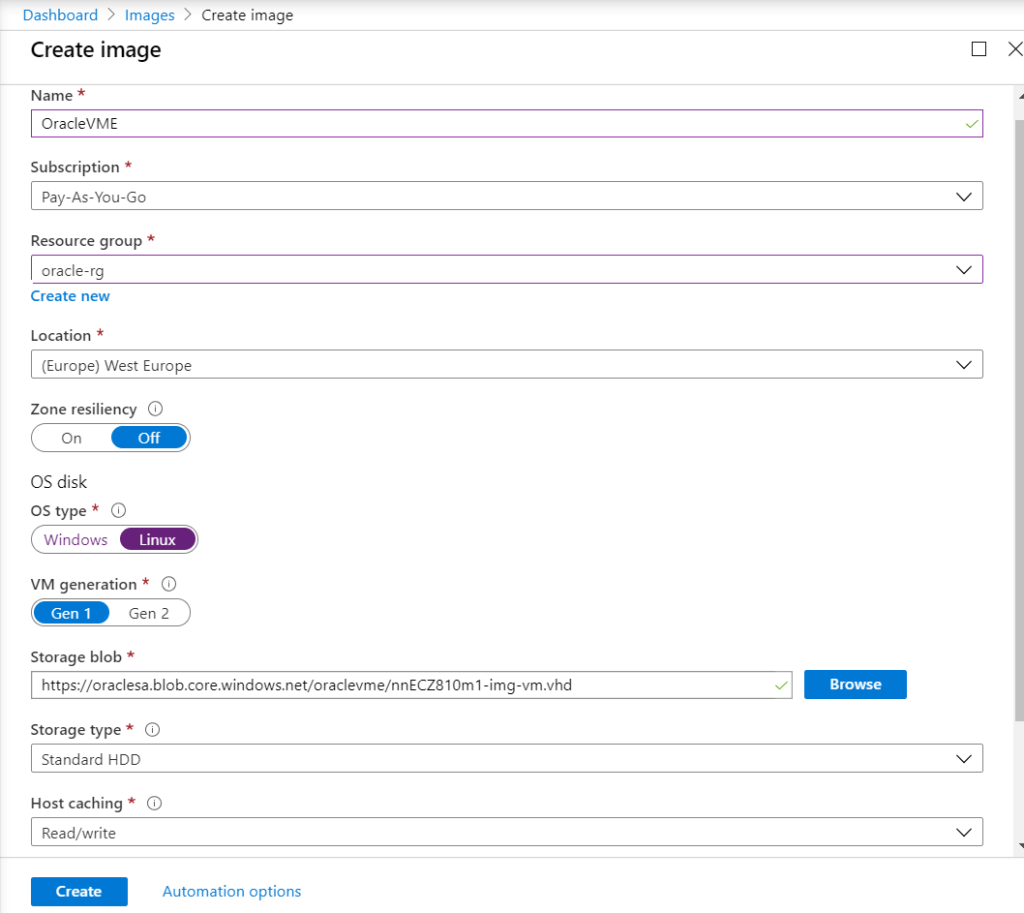
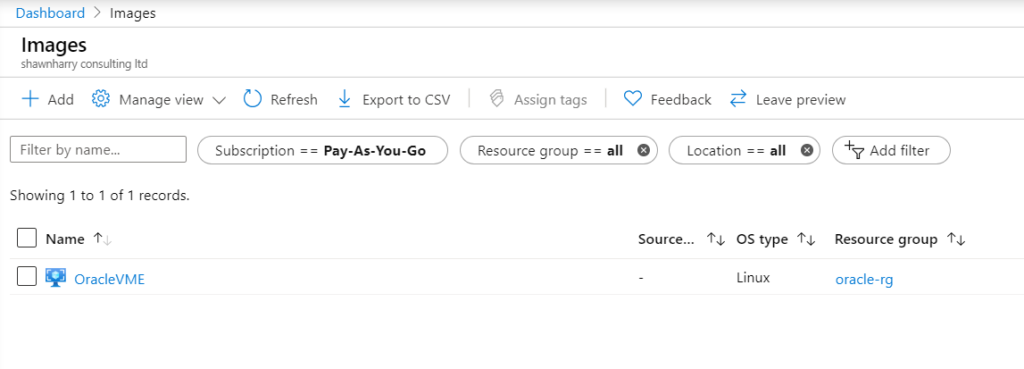
A new image must be created for the VHD.
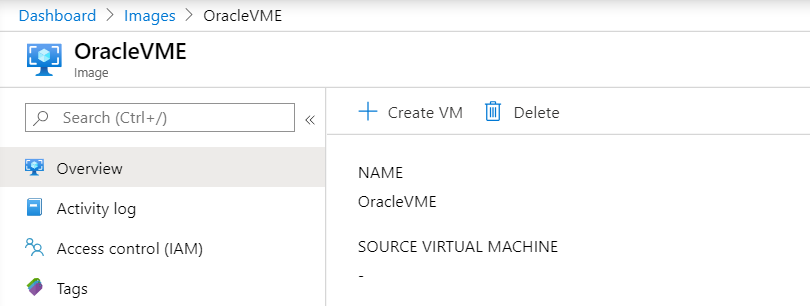
Create a new virtual machine
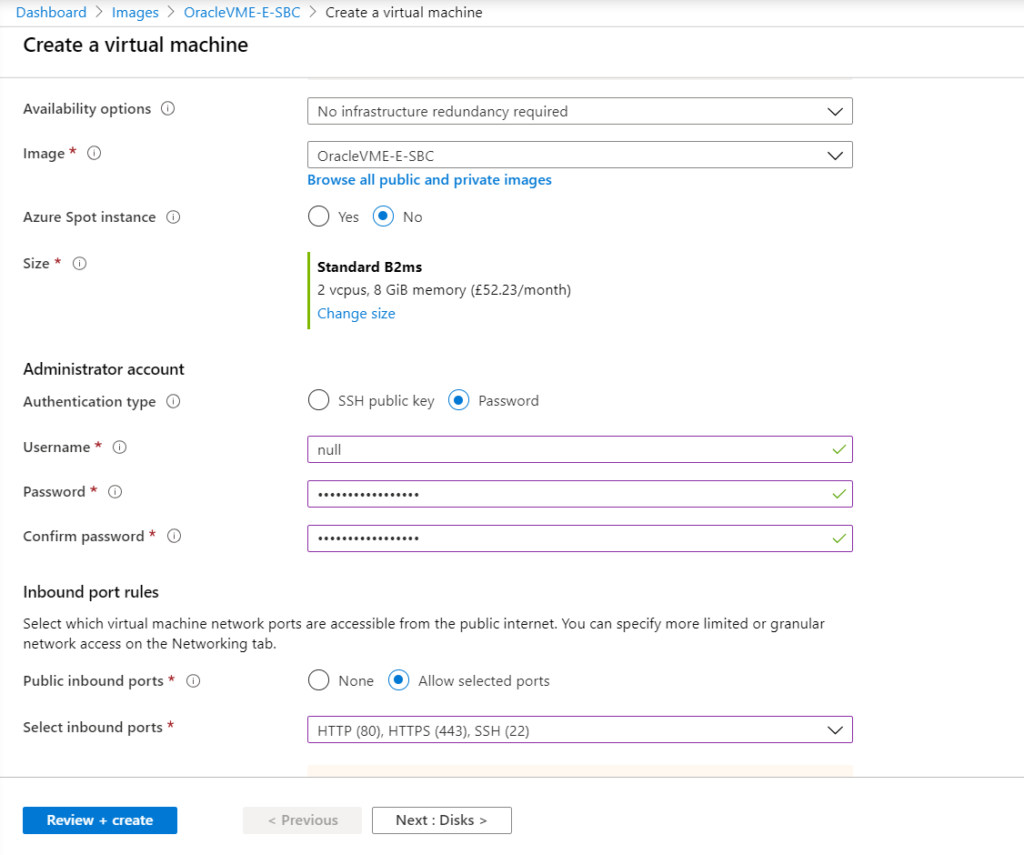
Give the VM a name, select a machine size, enter a username and password and select the inbound ports in the image below. Note: Any username and password can suffice here as the SBC does not use this this account. Also i used Standard D4s v3 (4 vcpus, 16 GiB memory) as the VME expects a minimum of 4 vCPU’s to be available at installation.
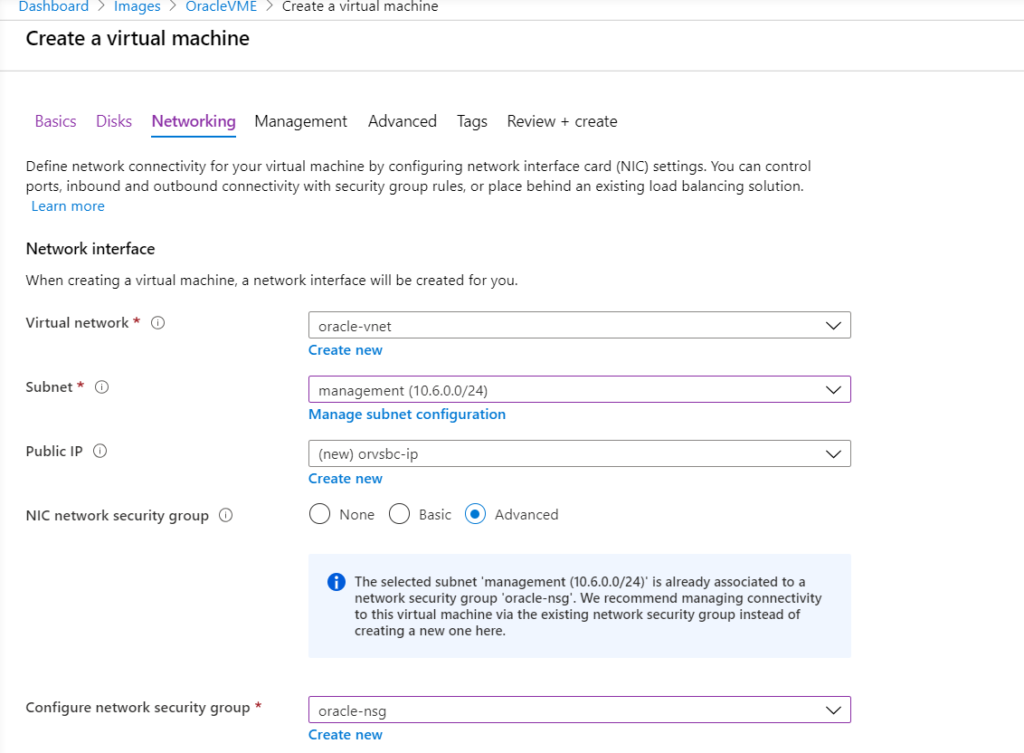
Select “Standard HDD” on the next screen and then proceed to networking. Select the management subnet for the subnet configuration and ensure the correct VNET and NSG have been assigned. Select Review and Create.
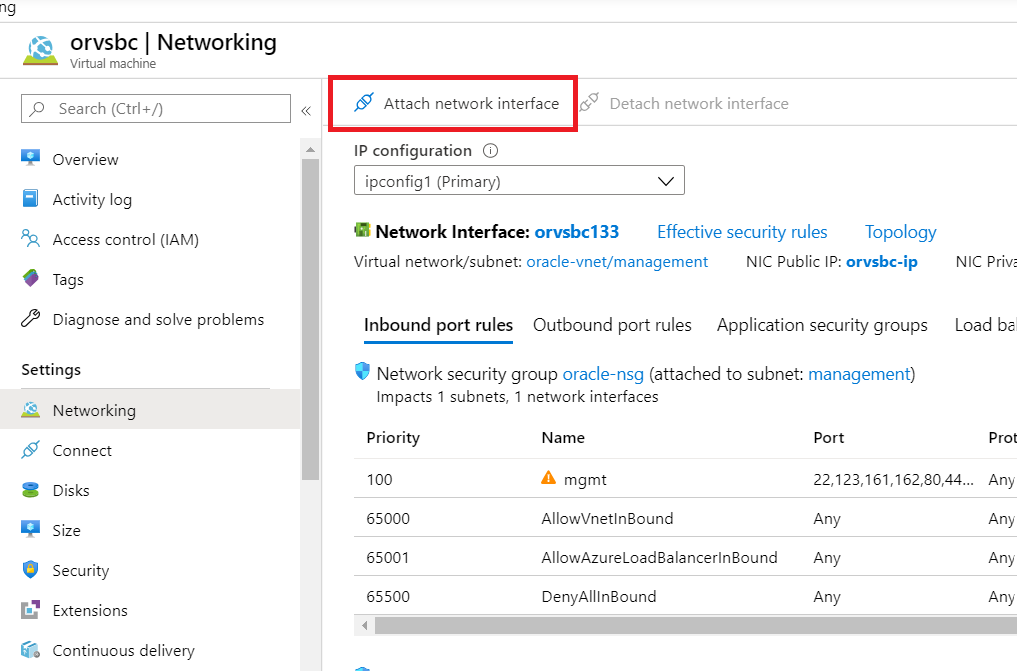
After the VM has been created stop the VM so its deallocated as we need to attach additional network interfaces. Select Attach Network Interface then Create Network Interface
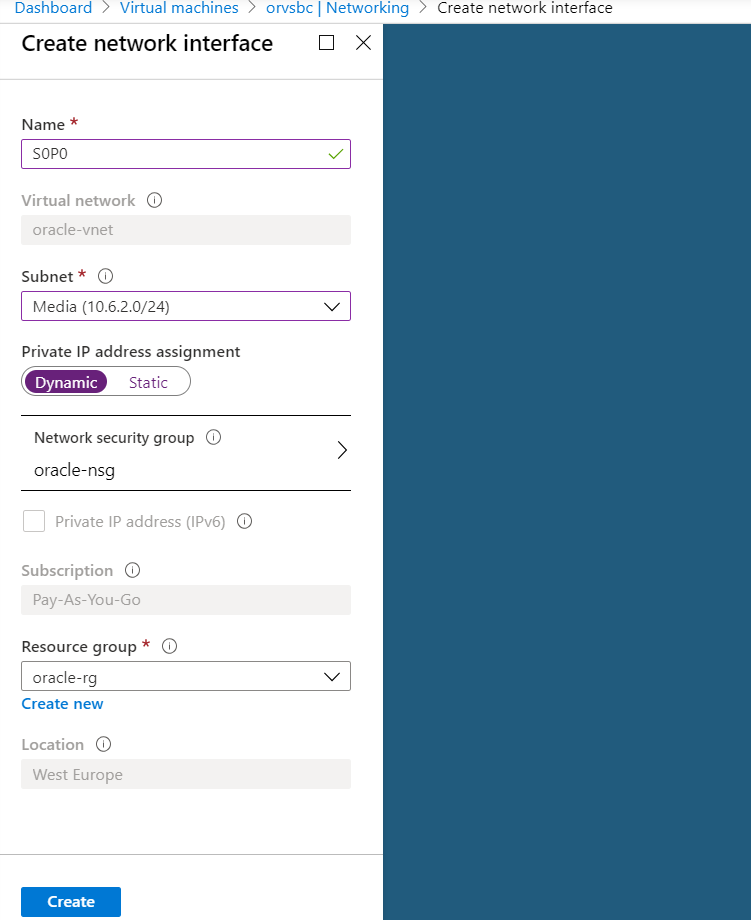
Give the interface a name, select the media subnet from the dropdown, the appropriate NSG, and resource group. Leave the IP Address assignment as Dynamic. This can be changed later if necessary. Attach this new interface to the VM and start the VM.
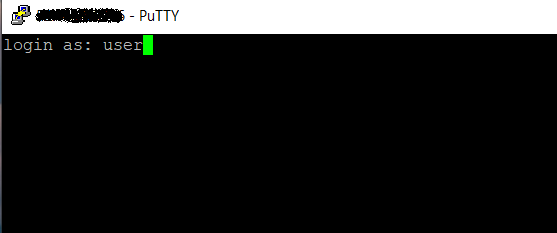
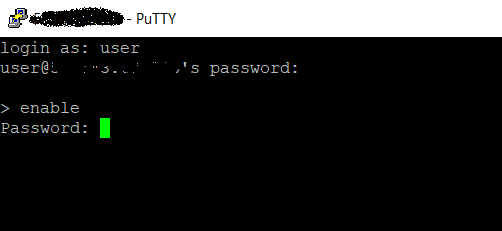
At this point you should be able to SSH into the VME. The default username is user and the password is acme. You’ll be prompted to change the password.
Now we need to enter enable mode. Type enable and the password packet and then enter a new admin password when prompted.
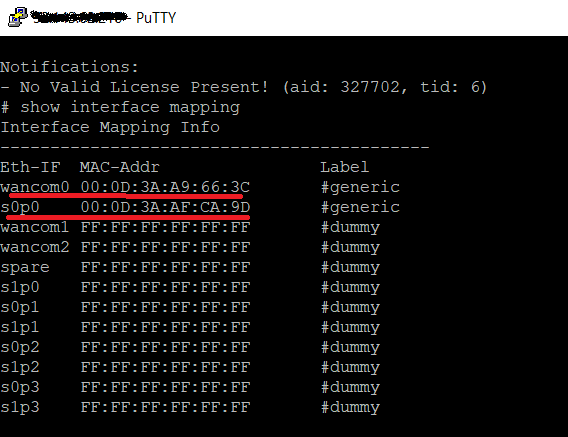
Whilst in enable mode we need to ensure the network interfaces have Mac addresses assigned to them.
Type #show interface mapping and you’ll see the available network interfaces.
Type #interface-mapping and use the swap command to map the wancom1 interface to the s0p0 interface.
#swap wancom1 s0p0. You should then see an interface mapping similar to the below.
You should now be able to browse to the web UI for the VME using the public IP address.
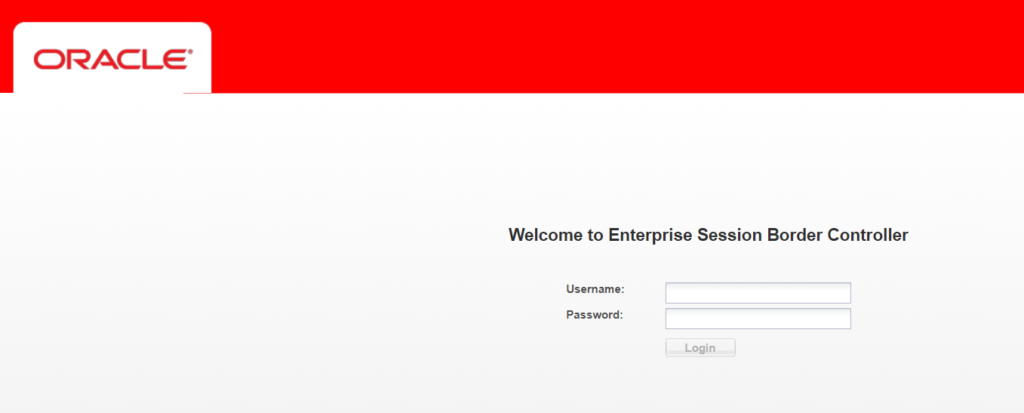
If the web UI is unavailable use the following link to Configure the Web Server From the ACLI. Note:- the default username for the VME is admin and the password you created earlier.
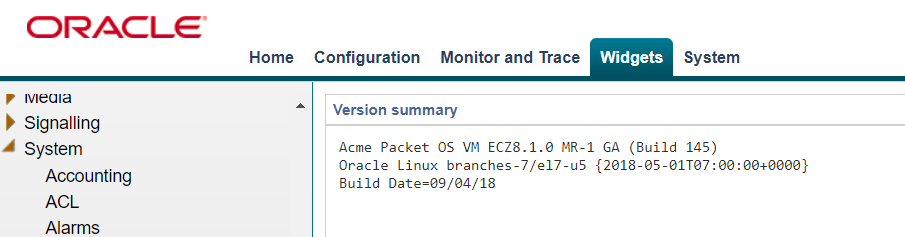
I used an older version of the VME which incidentally does still work with Teams Direct Routing although Media Bypass isn’t supported in this version.
Look out for a following blog where i’ll integrate the VME with Teams Direct Routing.