10 Oct SfB OpenOTP MFA integration using Passive Authentication
SfB OpenOTP MFA integration using Passive Authentication
The following is supplemental to the WebADM Install Guide only.
Server specification
Ubuntu 12.04 was used for the integration using a Basic_A1 (1 core, 1.75 GB memory) VM. The server was installed manually to support installation of OpenOTP in Azure. Otherwise pre-installed VM Appliances can be used for on premise installations.
Installing WebADM
Azure provides support for Debian or Redhat based Linux OS’s. Either variant can be used to install WebADM. RCDevs provide installation instructions here , “WebADM Installation Guide”. WebADM can be downloaded from the same URL, “WebADM with WebApps & Services” package.
After WebADM has been unzipped and installed MySQL must be installed.
MySQL
https://help.ubuntu.com/12.04/serverguide/mysql.html
To check hostname run:
hostname
hostname –f
If necessary change the hostname to an appropriate name EG OpenOTP.
Edit /etc/hostname and add your unqualified hostname:
OpenOTP
Edit /etc/hosts:
sudo nano /etc/hosts
127.0.0.1 OpenOTP.shuc.uk
Restart the hostname service:
sudo service hostname restart
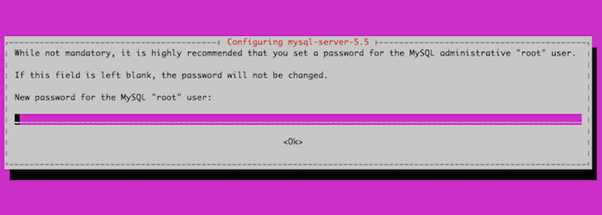
sudo apt-get install mysql-server
During the installation process, you will be prompted to set a password for the MySQL root user as shown below. Choose a strong password and keep it in a safe place for future reference
sudo netstat -tap | grep mysql
tcp 0 0 localhost:mysql *:* LISTEN 2556/mysqld
mysql -u root –p enter p password created earlier.
create database webadm;
grant all on webadm.* to ‘webadm’ identified by ‘webadm’;
Important step:
Edit the /etc/mysql/my.cnf file to configure MySQL to listen for connections from network hosts, change the bind-address directive to the server’s IP address:
bind-address = 192.168.0.5
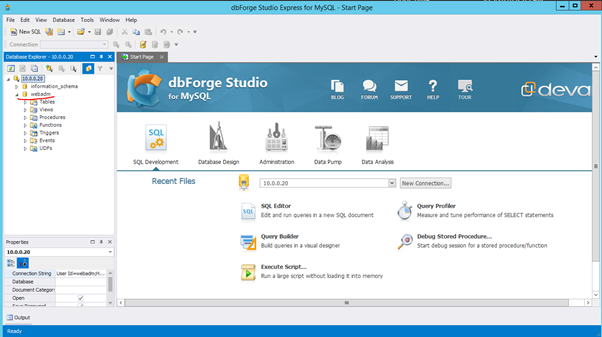
Test the connection from a windows server using dbForge Studio for MySQL, v7.1 Express.
https://www.devart.com/dbforge/mysql/studio/download.html
Configure server.conf & webadm.conf
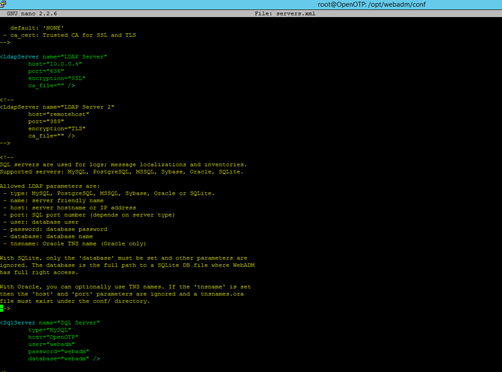
Login to OpenOTP via SSH/CLI. Su to root and navigate to /opt/webadm/conf. Nano server.xml. Edit the .xml to point to ADDC and MySQL.
No other settings in the .xml other than these need to be changed.
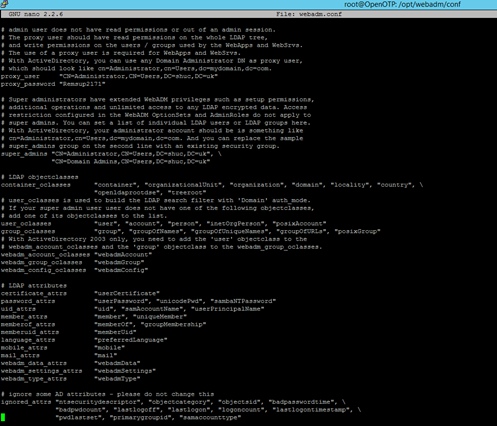
Navigate to /opt/webadm/conf. Nano webadm.conf
Proxy user DN and proxy user password must be changed to a domain administrator. Note domain admin password is stored in clear text. Super Admins string must be changed to domain administrator AD group DN and an administrator DN, either default or a delegated administrator.
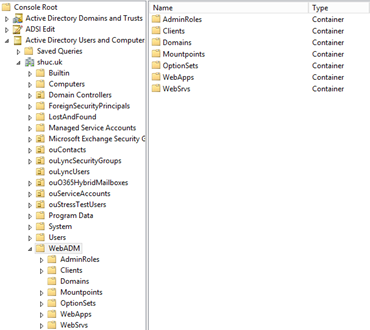
Lines starting adminroles_container to client_container were remarked out with a #. Edit each line to the appropriate DN/LDAP tree so the WebADM in the setup wizard can create these groups in AD.
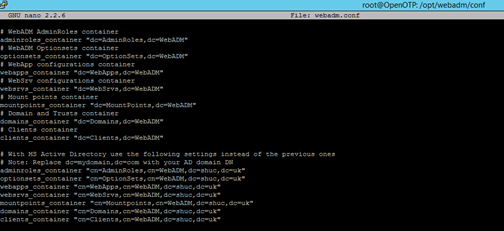
Example (After setup wizard from WebADM https://openotp.shuc.uk/admin/index.php has been run) :-
Restart OpenOTP.
Setup WebADM
Login to WebADM https://openotp.shuc.uk/admin/index.php . Run the setup wizard and complete all steps. Once completed login with a domain administrator account.
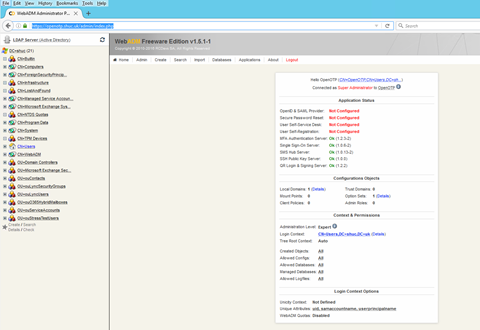
Configure WebADM
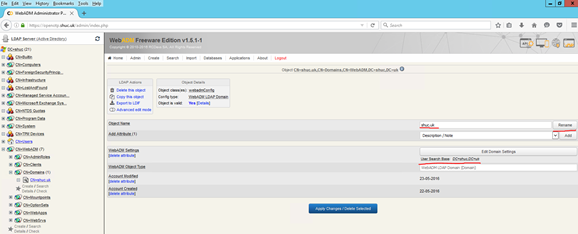
Rename the default ‘domain’ called ‘default’ to the AD domain, shuc.uk. Edit the User Search Base.
Under the applications tab enable MFA.
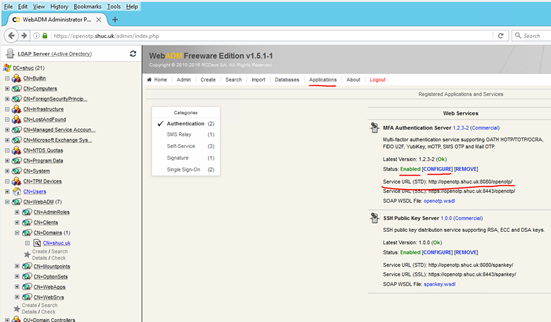
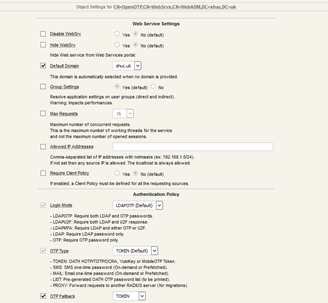
Take note of the service URL. This is required when configuring ADFS to communicate with OpenOTP. Select configure and ensure the check boxes are ticked as per the image below. Ensure the default domain is set and does not say ‘default’.
Enable user for MFA
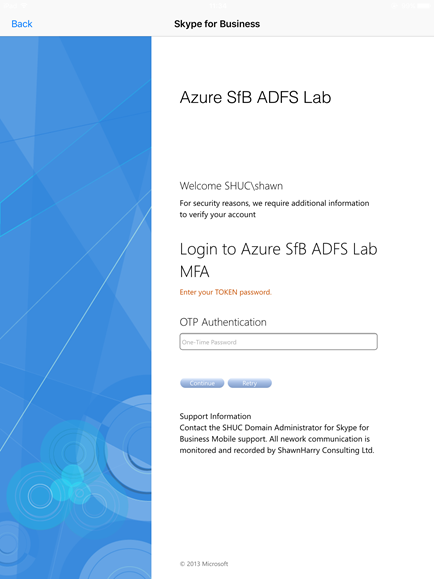
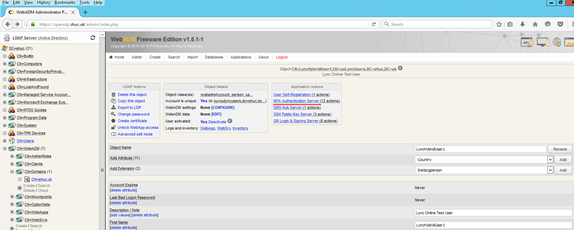
Select an AD user from the domain tree and activate them for OTP. Ensure the preferred language in the next screen is EN (English) and select proceed and then extend object.
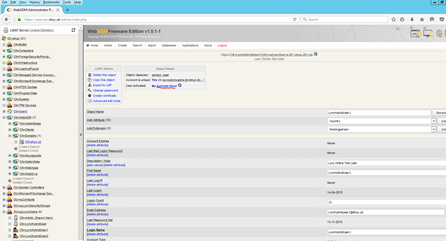
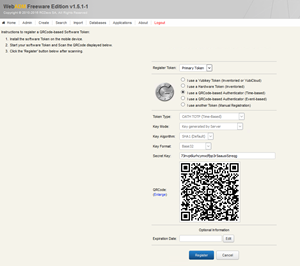
Select MFA Authentication Server. In the next screen select Register / Unregister OTP Tokens.
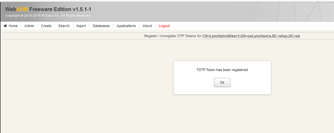
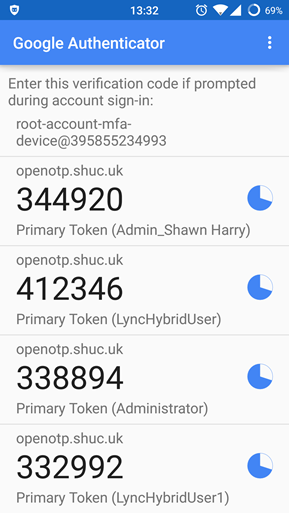
Download Google Authenticate and a Barcode Scanner on your smartphone and scan the QR barcode then select register.
Example Google Authenticate
Install ADFS OpenOTP plugin
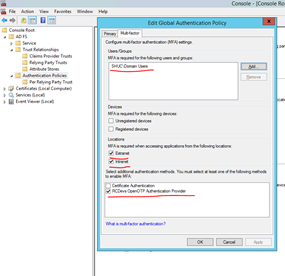
Follow instructions here to install the plugin. Ensure the following parameters are set under MFA to enable MFA in ADFS to OpenOTP.
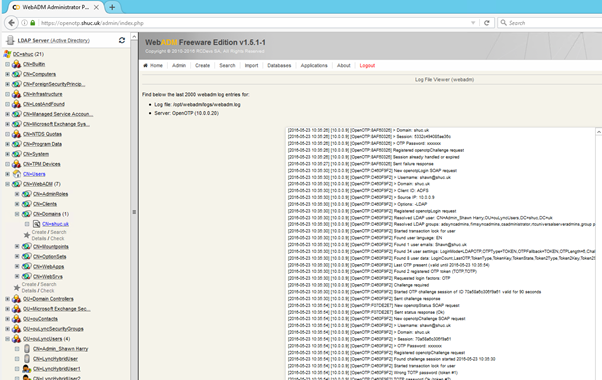
Troubleshooting
To trouble shoot login issues with ADFS applications > WebADM Server Log Files